Tsunami Sound in the Genesis Turbine
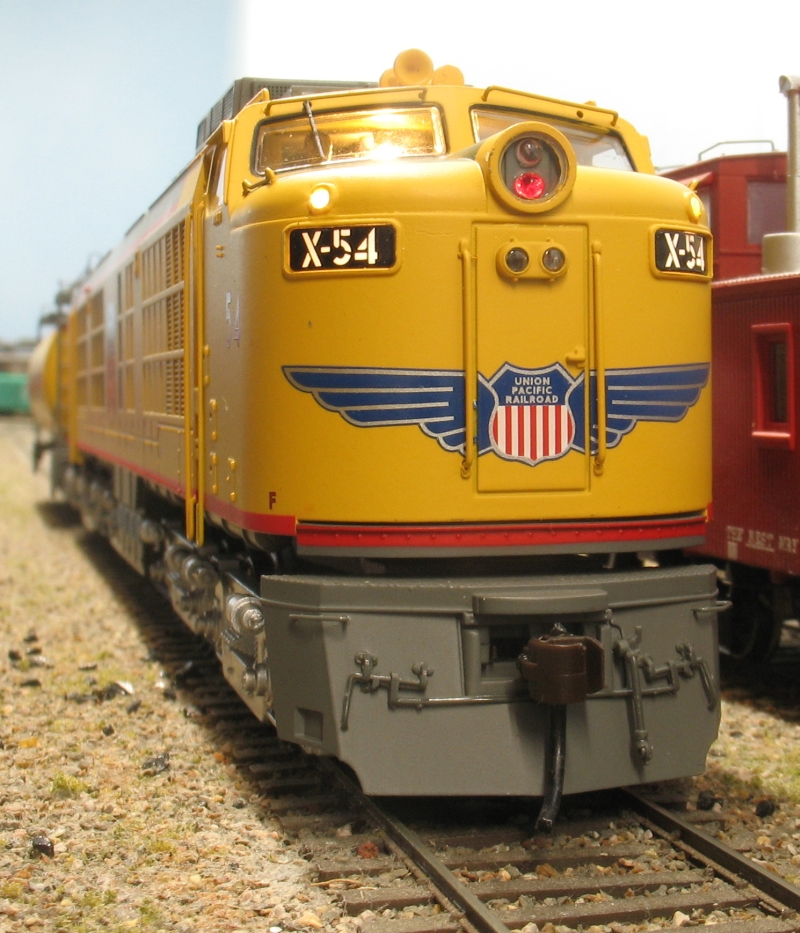
The Genesis Tsunami is a magnificent looking loco but the magic of the prototype units was the sound they produced. This page will give you two options for the install – the “quick and easy” way and the “better” way. There is also a section on the programming of the decoder.
Although this page shows the Tsunami the same proceedure would be applied to the SQI Revolution U decoder but the programming is far more complex.
The Quick & Easy way
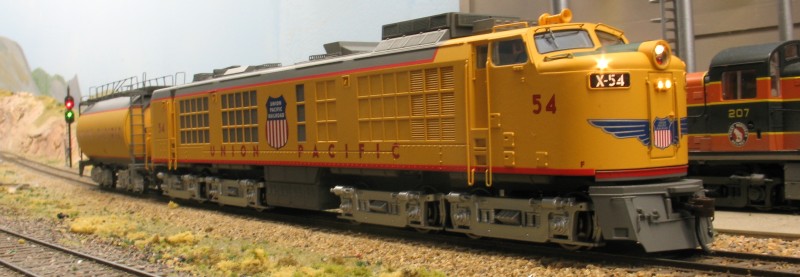
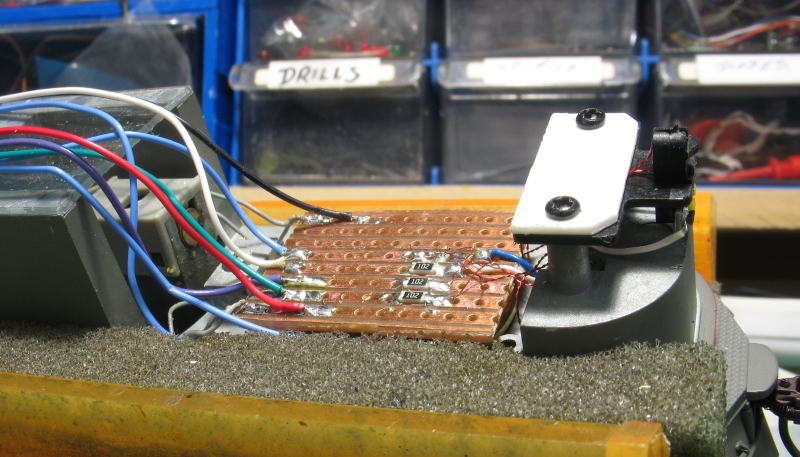
This shot shows the front board with the 28mm speaker mounted underneath. There is no way to raise the board as the cab sits just above it.
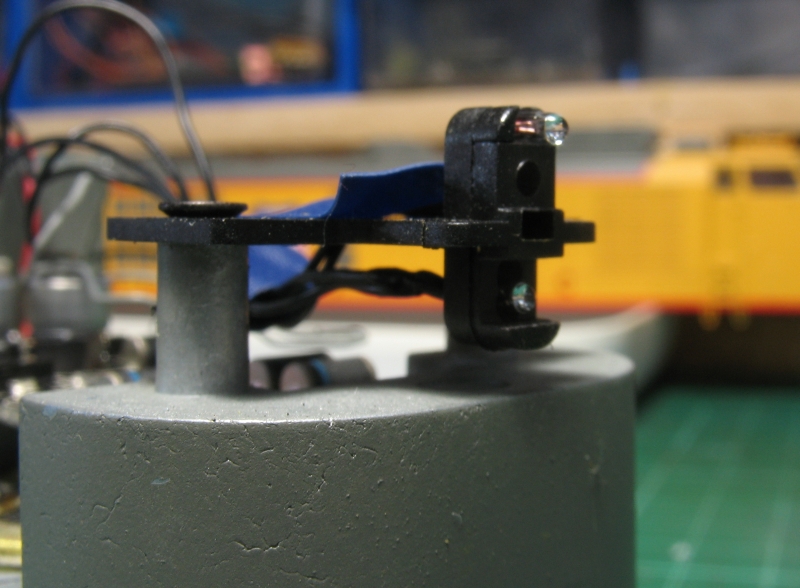
This photo shows the light assembly with the 1.5 volt lamps. The top one is the white mars light and the lower one is the “headlight”.
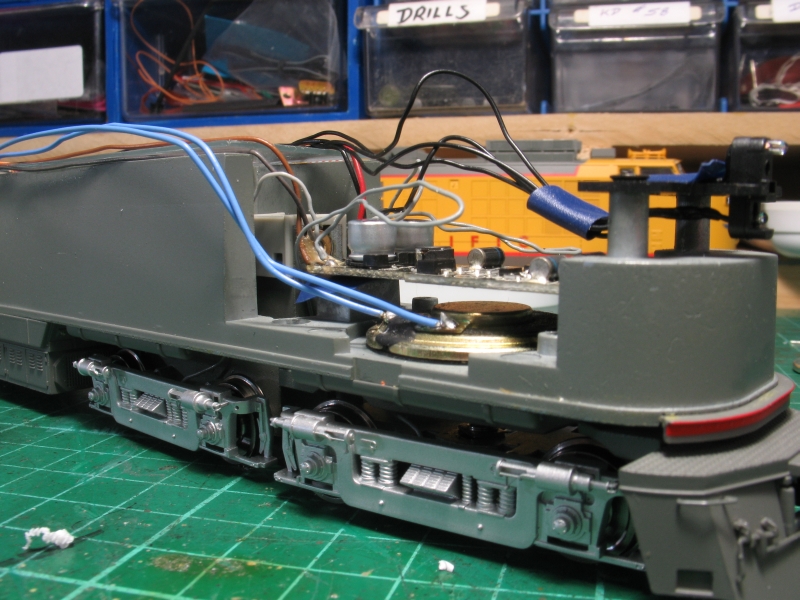
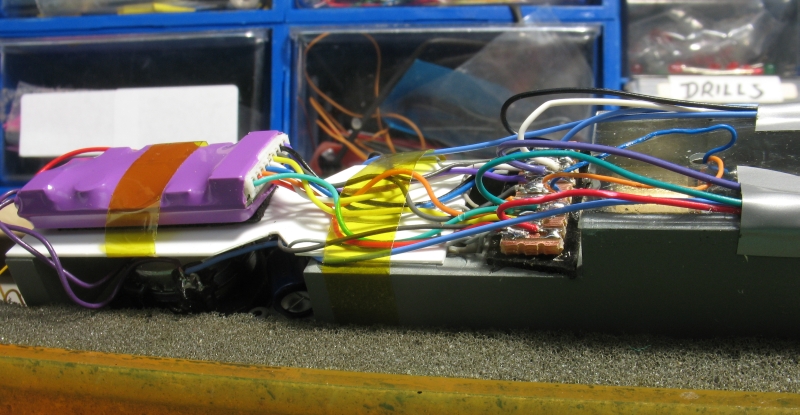
Using the existing board and harness just plug the 9 pin JST plug into the decoder. The decoder has to be mounted as far back as possible because of the mounting posts inside the body.
The 28mm Hi Bass is mounted underneath the board. There is also room to put the capacitor under the board.
The small bracket that holds the rear lamp will need to be removed.
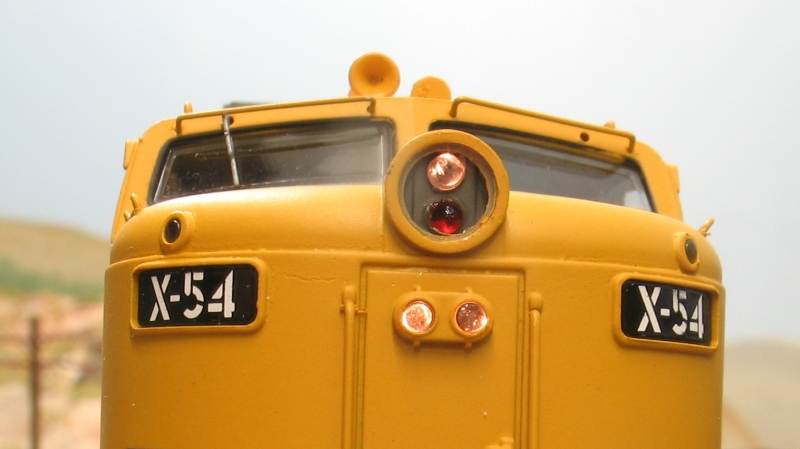
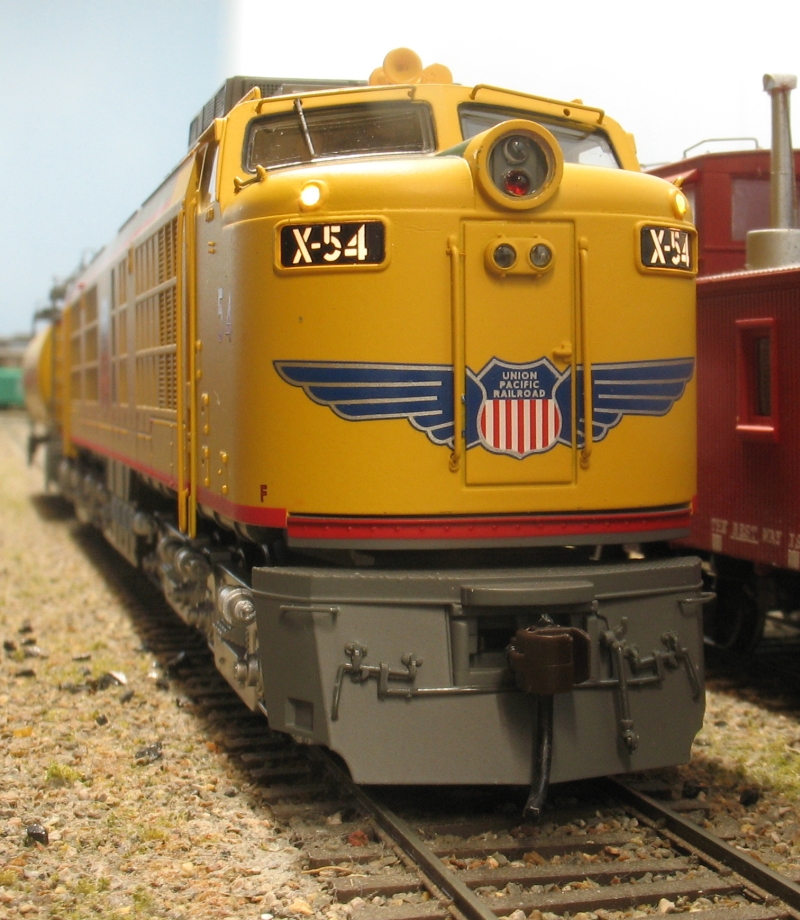
This is how the front lamps will look if you use the existing boards and lamps and just plug the decoder into the harness.
The sound set up and loco tuning is the same for both methods but the light set up can vary.
The Better Way
This method involves removing the existing boards and hard wiring the lights using Veroboard
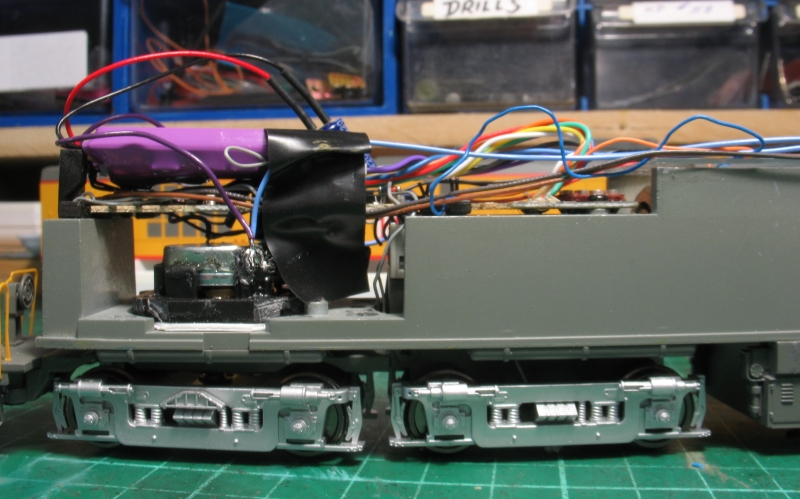
The front board is replaced as shown with the speaker underneath. I used 1mm double sided sticky tape to mount the board on the back of the speaker.
I have also used the correct colour coded wires and surface mount resistors for the front lights.
Not shown here are the resistors for the marker lights and the cab light. The Marker lights (SMD LEDs) will be mounted against the cutout on the white styrene.
The rear board has been replaced with 0.5mm styrene. Note the notches in the side to clear the body mounting posts.
A small piece of Veroboard is used for the connections. The harness from the original Genesis board was cut off and is used here. Again note the correct colour coded wire except the motor wires, Genesis uses blue and orange
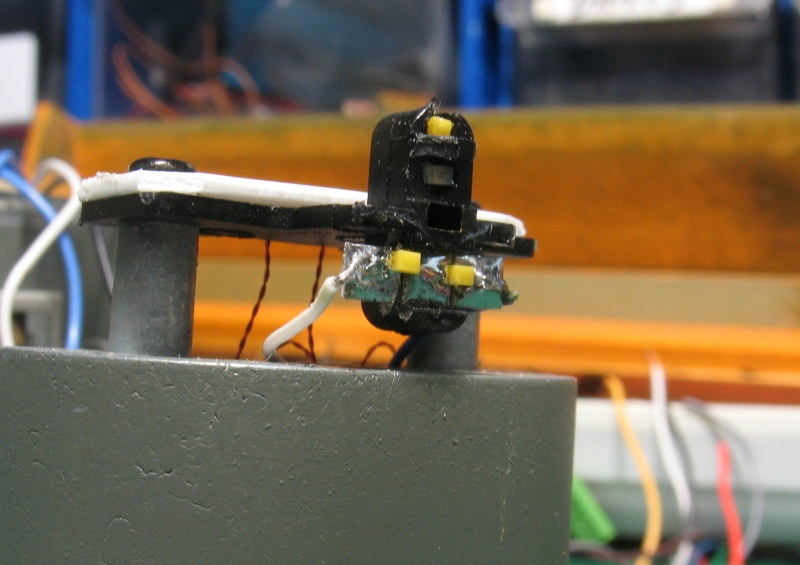
This is the new arrangement for the front lights. Four SMD LEDs are shown here. The top one and the two side by side are white 603 types and the darker one is the red 603 type. The two lower ones are mounted on a short piece of tie PCB from Clover house – I have it and it fits!
The marker lights will be mounted on the black shelf – against the notched corners of the white styrene.
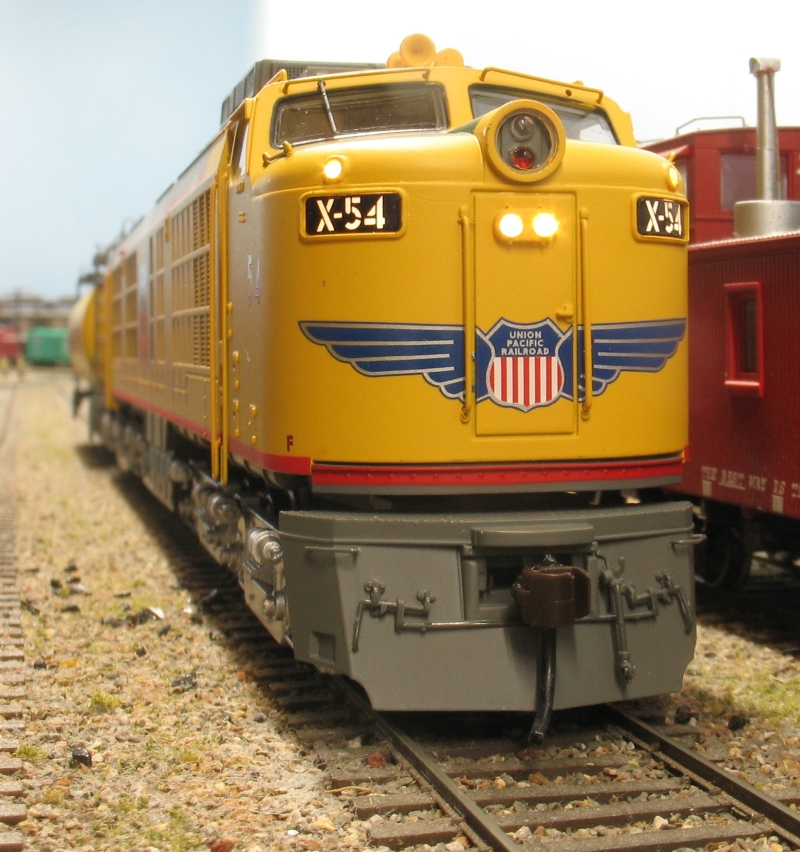
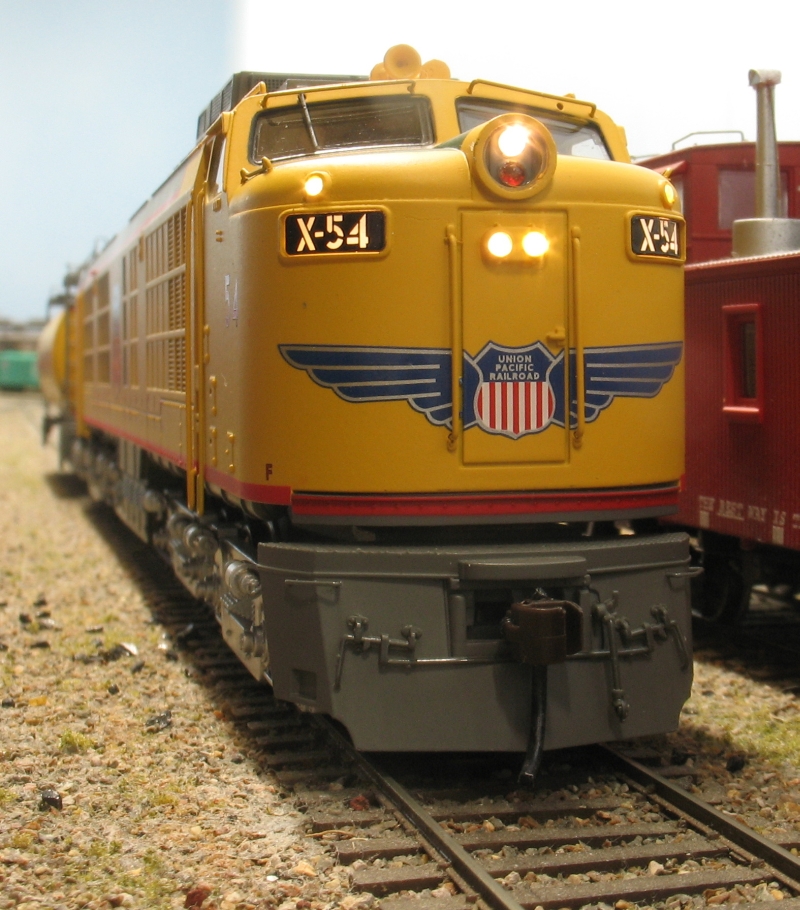
These four shots show the new lights using SMD Leds (Surface Mount Device LED).
In reverse the Red Mars light can be used and the cab light can be switched on. The Marker Lights and the Cab light are controlled by a TCS FL2 function decoder using the same number as the sound decoder.
I would also recommend replacing the plastic imitation coupler with a Kadee #158. This one has not yet been used but is already drooping!
Programming Using Decoder Pro
The Turbine decoder has some unique options due to the dual drive system (Diesel & Turbine) as well as some new options for all future decoders. I am not very bright when it comes to CVs so I will show the panels from Decoder Pro
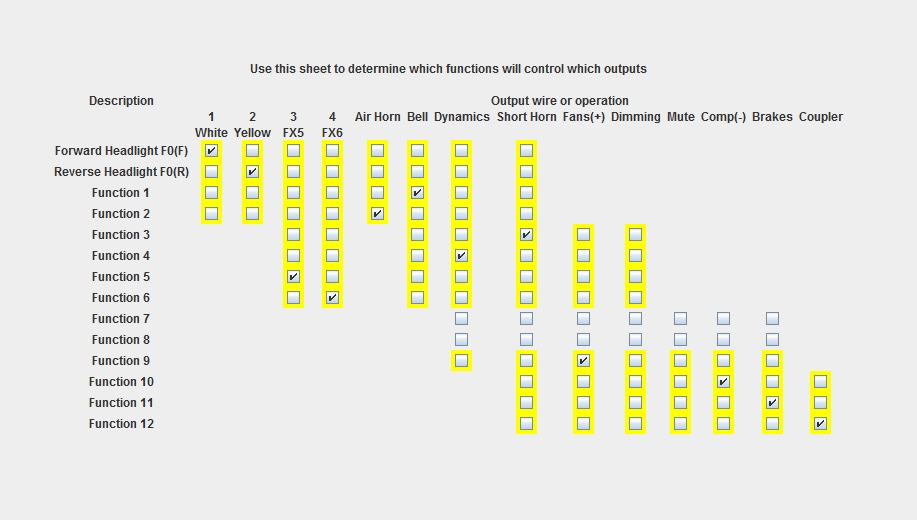
Function Mapping
The Turbine decoder has some unique options due to the dual drive system (Diesel & Turbine) as well as some new options for all future decoders. I am not very bright when it comes to CVs so I will show the panels from Decoder Pro
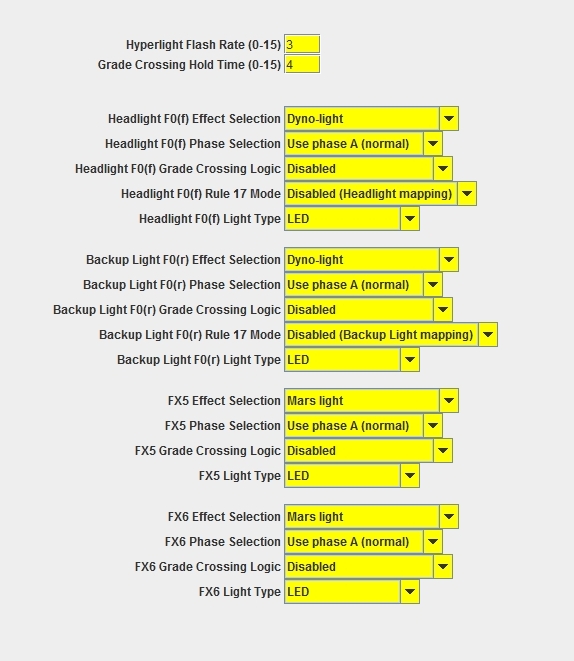
Lights Panel
The lights are straight forward at this point. Change the type to LED so that the processor can give the right appearance for our poor human eyes.
FX5 & FX6 are set for Mars lights.
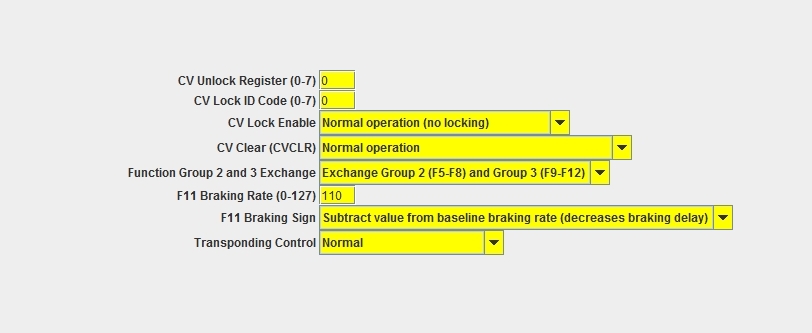
Advance Panel
This panel will swap the Function Group (F5 – F8) with (F9 – F12). Most DCC throttles have functions 0-9, any function past this requires an extra 1 or 2 key presses. This brings the brake from F11 to F7 and motor controls for manual notching (and starting the turbine) F9 & F10 down to F5 & F6.
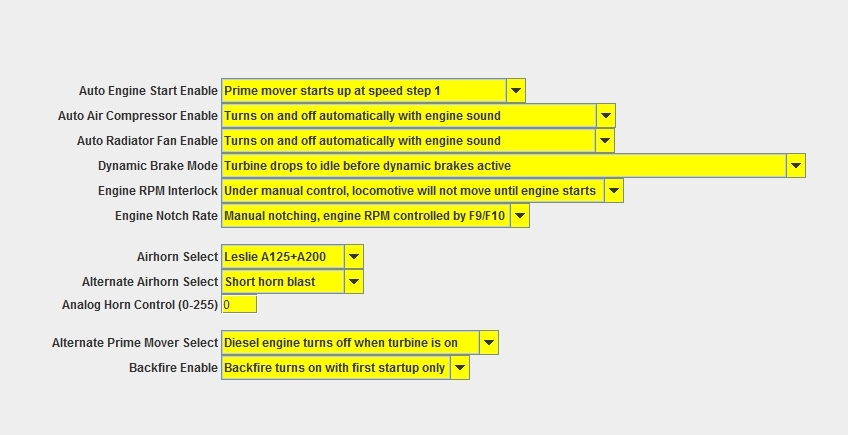
Sound Panel
This panel sets up most of the control functions like setting the fans and compressor to auto, turbine drops to idle before dynamic brakes come on, selecting manual notching, diesel turns off when turbine is running, and enable the odd backfire.
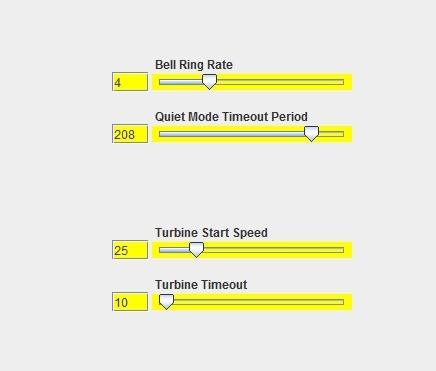
Sound Panel (2)
This is part of the same panel. I have set the Time out to 20 secs (all functions off).
The Turbine Start Speed has two options.
When in auto drive mode the turbine will start at this speed.
When in Manual Notch Mode this is the maximum speed the loco will travel at when the turbine is off.
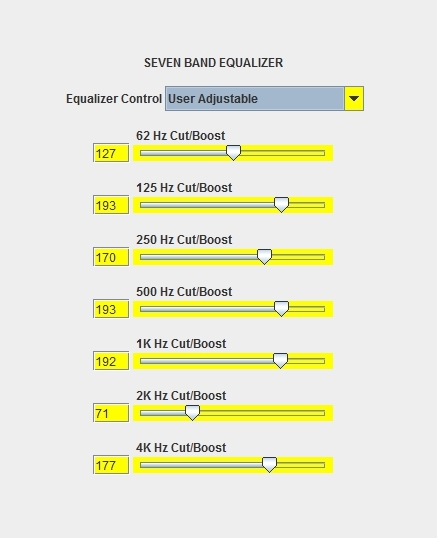
Equaliser Panel
This is the fun bit. it will vary depending on the speakers used, your hearing, and the day of the week.
Using decoder Pro you can play with settings and hear the results as you go.