With the release of the NSW 44 class, there are many people wanting to fit decoders to the loco – both sound and non-sound decoders. I have done a number of these now so I have taken a few photos and added text that might help you. If you click on any photo below it will give you a larger view.
The body is held on by the coupler pockets. Sit the loco in a foam cradle and remove the screw and coupler box from each end.
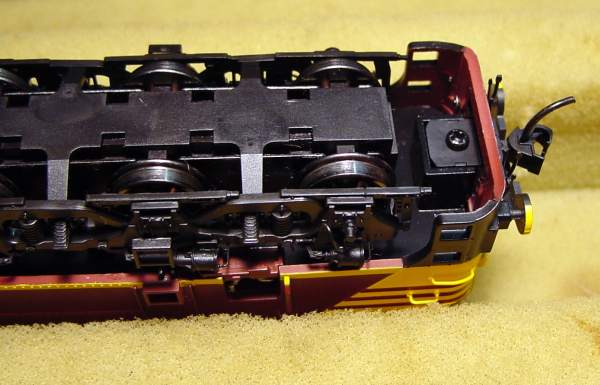
There are four small pips on the chassis that hold the body in place, use your nails or small toothpicks to prise the body away from the chassis. Pull the body off straight and remove the Staff exchanger castings as you go. Remember how these fit – you will have to put them back later.
There is a large circuit board mounted above the motor with a small board plugged into it at the rear end of the board. Remove this small board.
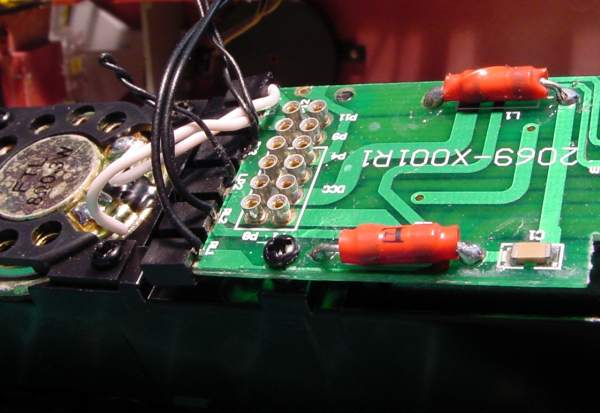
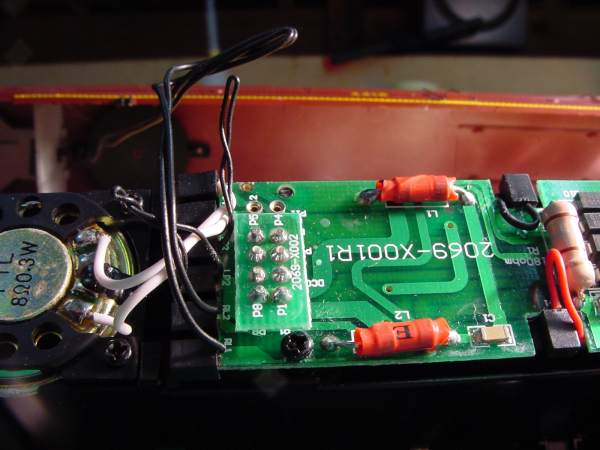
With the board removed, you can see 12 small sockets. In this photo, the eight sockets closest to the black screw are for the standard NMRA 8 Pin plug. The socket nearest to the screw is pin 1.
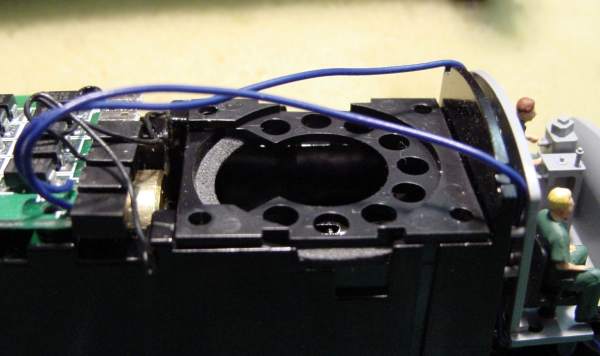
There are two speakers fitted to the chassis but no room for a decoder. The decoder I used is only capable of driving one speaker so I removed the speaker closest to the front of the loco. The retaining plate was turned upside down and refitted to the chassis. This will act as the mount for the decoder – sound or otherwise.
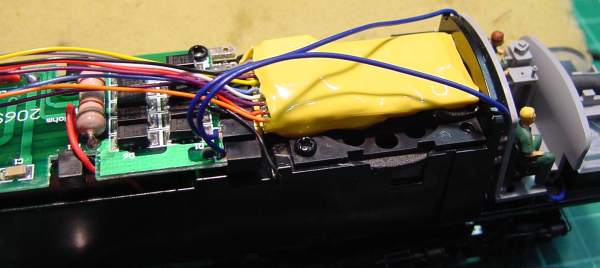
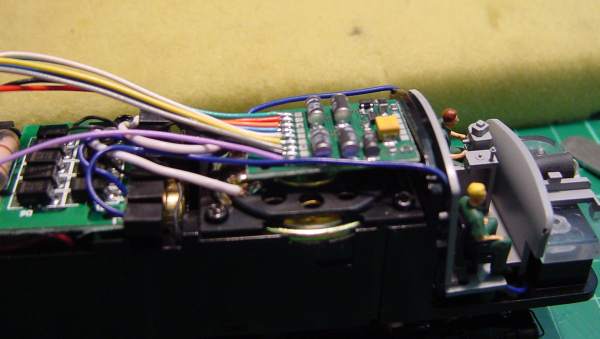
The sound decoder I used was a Soundtraxx DSD 090 LC #821210. This is a decoder with the correct Alco sound for the 44 Class. As the photo shows this decoder is a snug fit in the chassis. It is held down by a small square of double-sided sticky tape. The black stuff not the white stuff!
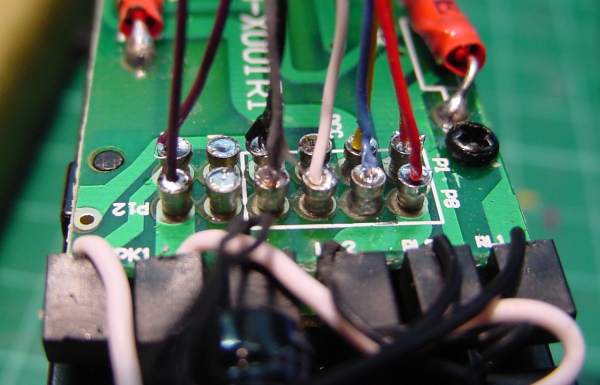
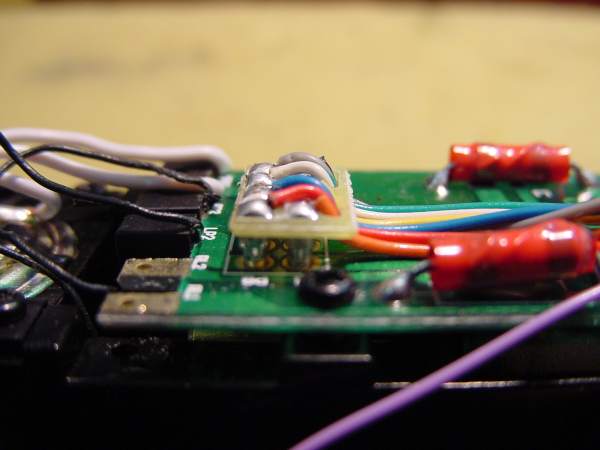
I have soldered the wires straight onto the sockest as there is no room for the normal plug. The plug would hold the body up off the chassis by 1.5mm. The speaker wire from the decoder are soldered to pins 11 & 12 as shown in this photo.
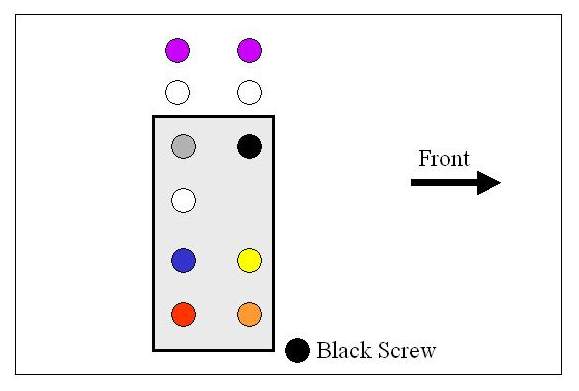
This diagram shows the colour code of the plug – in the grey square. The purple wires are attached to the speaker pins as shown. These colours apply to ALL decoders.

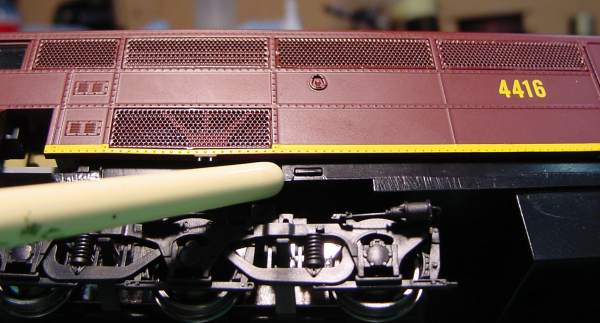
You can check the clearance when you have fitted your decoder by placing a steel rule along the chassis as shown.
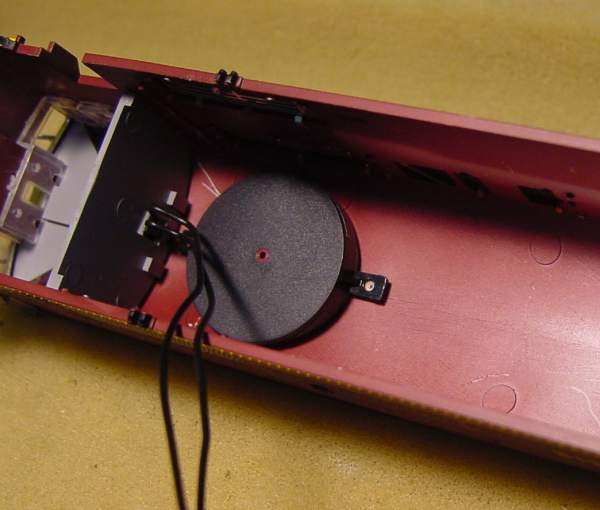
I removed the front speaker as this gave more room for the decoder. The space above the rear speaker is taken up by the fan housing as shown.
The choice of non-sound decoders is limited. I had quite a few decoders on hand and tried each of them.
I ended up with the following list.
Lenz – LE1024 (shown)
TCS – T1/SH
The NCE decoders were just a little too long to fit.
This shows the side entry plug that will fit. This is on a Lenz decoder but TCS has the same.

I did try the postage stamp plug-ins of TCS and NCE but they sat too high on the board.
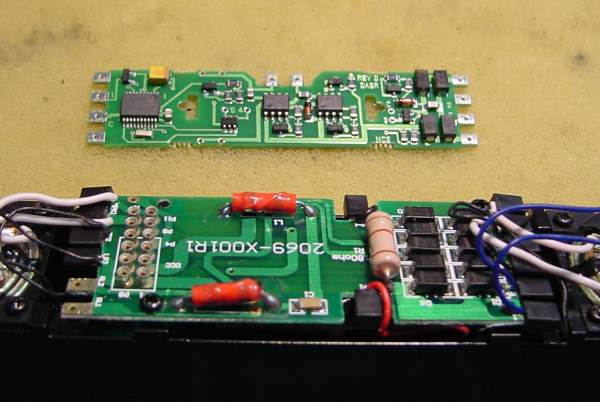
If you wish you can remove the board totally and replace it with the NCE DASR as shown here. This method can also be used with Soundtrax Atlas/Kate Alco board – it’s a direct replacement for the DASR.
More Notes:
- When refitting the body, let the body come to within 1/4″ of the bottom of the chassis and then fit the staff exchanger castings.
- The CT Elektronic SL51-2 sound decoder will also fit, but you would have to change the speaker.
- From the measurements published, the Tsunami decoder would be too big.
- If you are fitting a normal decoder with 3 functions you can split the number board lights from the headlight at the front. You would need 2x Minitronics 14v 1.7mm lamps and map the number boards to another function.
- Setting up the decoder, set CV2 =3, CV3=8, CV4=8, and also set the top speed to 150.
Review
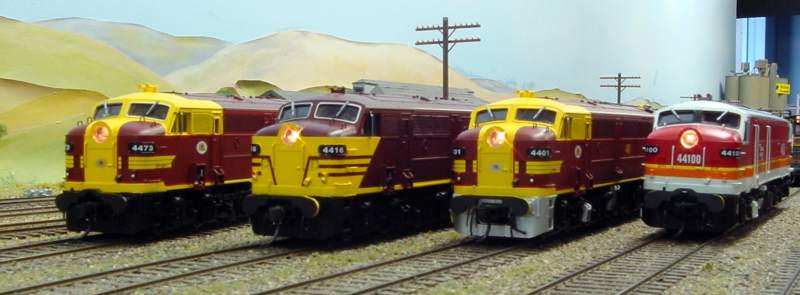
The locos looked and performed very well. The mechanism was free and ran smoothly out of the box. They appear to have all the right bits in the right places according to my photos and videotapes. The only thing you need to change are the couplers. I fitted #58 Kadees to one loco and they looked better, and I know they will perform better – especially if you have a few grades on your layout.
Gerry Hopkins MMR