Fitting a decoder of your choice.
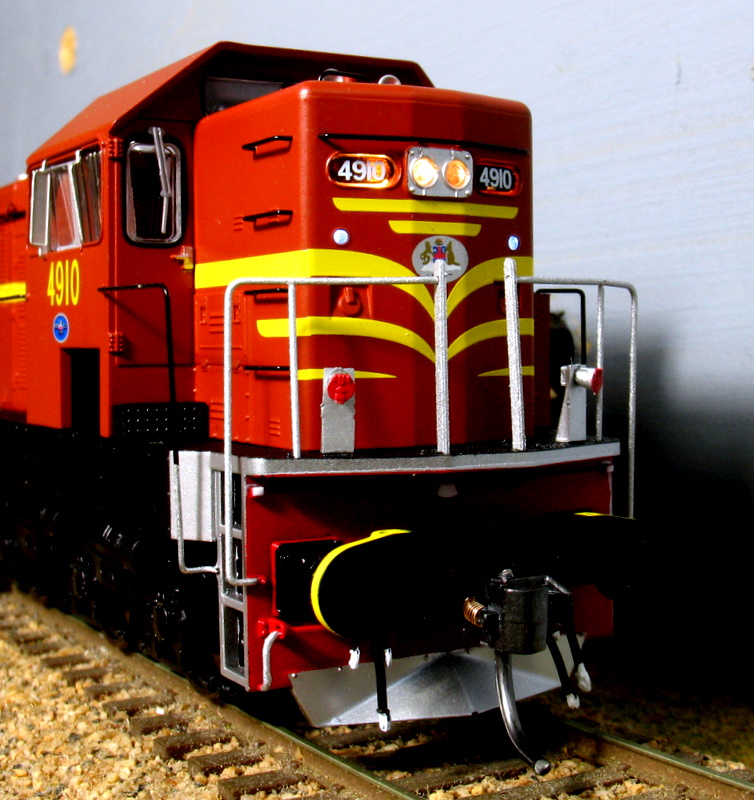
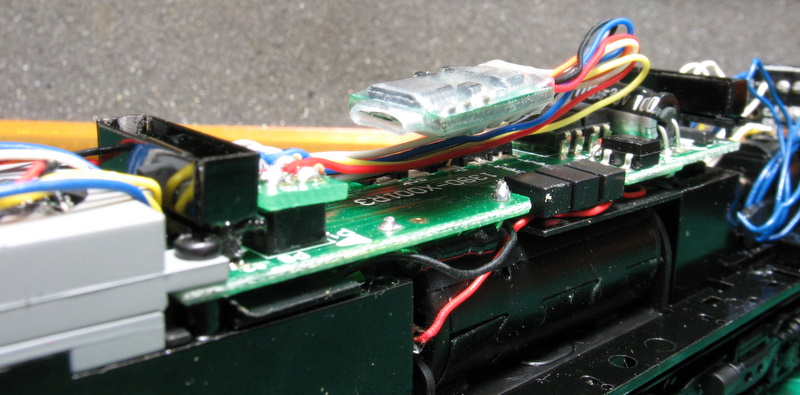
The latest release from Train-O-Rama has a number of “new” features. It has marker lights front and back that change from white to red as the direction of the loco changes. These can be switched on/off with a wand.
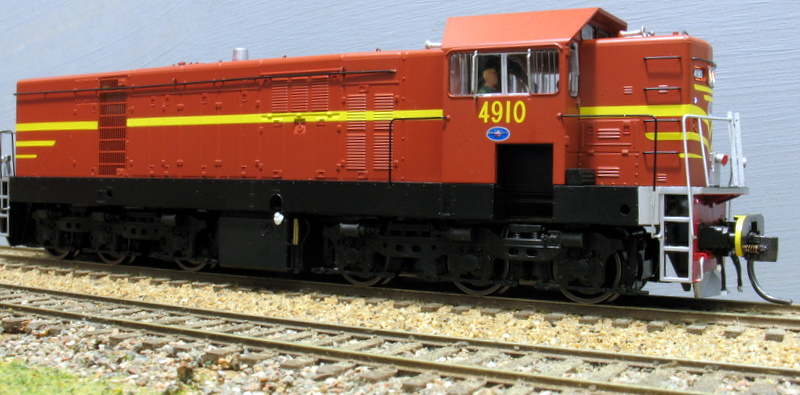
This photo also shows the nice detail on the underframe and trucks, well, once it gets a little bit of weathering all the detail will really stand out.
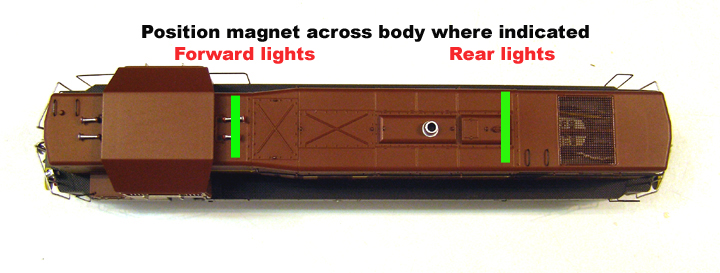
For the DC user, there is the option to turn the lights off at each end. To do this just pass the wand over the magnet at the end you want to switch off. Repeat the action to turn the lights back on. The photo alongside shows the location of the magnets.
To remove the body, first, remove both the KDs and the pockets. Hold the chassis by the fuel tank, the truck side frames are only clip-on and will not hold the weight of the loco. When I finish this loco the KD #5s will be replaced by #58s – they are smaller and look better.

IMPORTANT NOTE. When fitting ANY decoder you must remove the capacitor connected across the motor. To do this you need to lift the circuit board from the top of the motor. Remove the single screw next to the reed switch and the 2 screws next to the speaker. There is enough slack in the wires to tip the board sideways. You will see 4 diodes a third of the way along the board and next to these is a small surface mount capacitor labelled C7 you can de-solder or just crush it with your wire cutters.
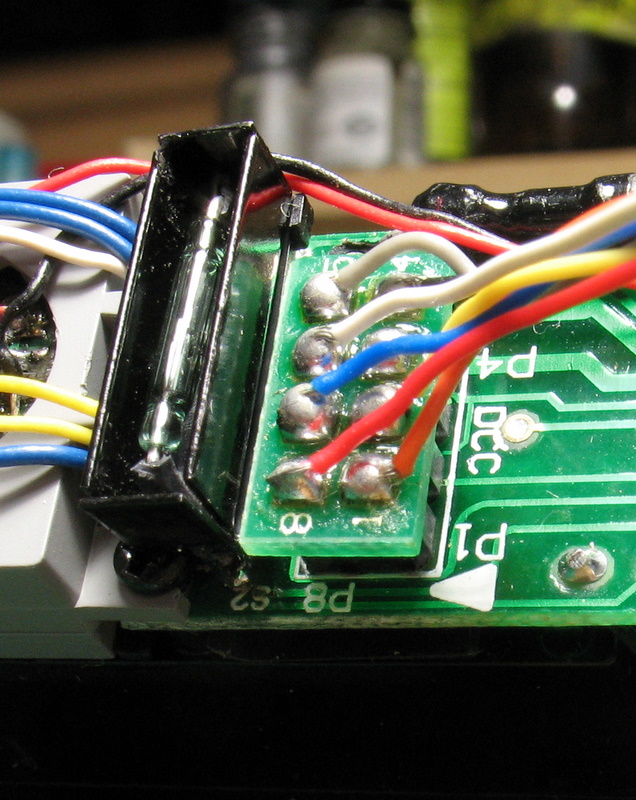
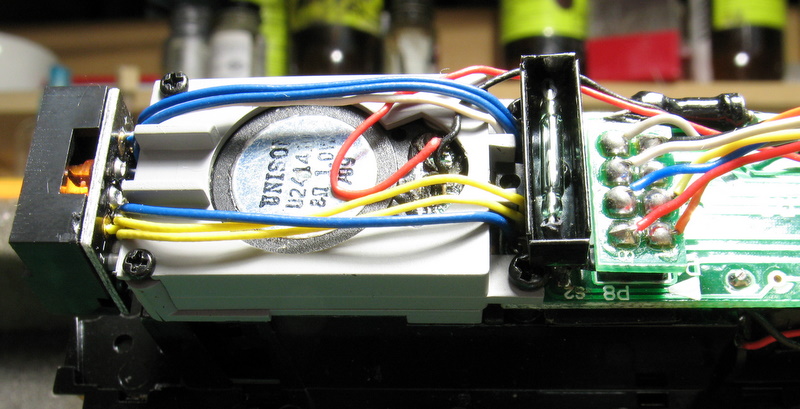
Next to the plug, you can see the magnetic reed switch and its amplifier – the black box. The box is made of metal and helps the operation of the reed switch.
The smoothest decoder at low speed turned out to be the TCS T1 with BEMF. If you wish to fit a direct plug in decoder you can remove the reed switch and its box. This will give you room to mount the decoder over the socket. When you remove the reed switch do not solder a link in its place.
Function F0 is the normal headlight/backup light operation. Function F1 controls the forward white markers and rear red markers. Function F3 controls rear white markers and forward rear markers.
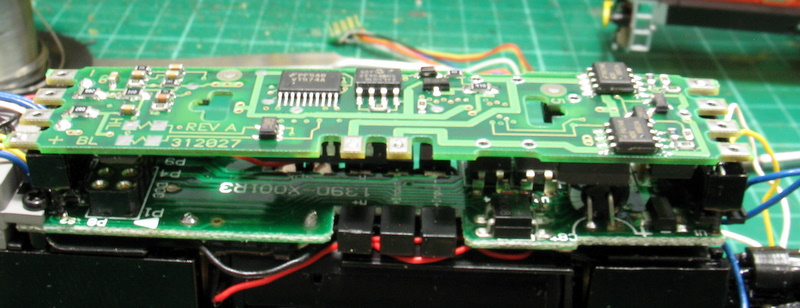
You can replace the whole board with a sound or non-sound decoder. You can see this Soundtraxx KT/AT101LC decoder (EMD 1st Gen) will drop straight in and just wire straight to the speaker – it is 8 ohm 1.0w. There are a number of non sound decoders with the same footprint.
When using the sound decoder with this speaker, you will need to turn the speaker over and not refit the cover plate. The sound will then pass straight through the grill and give more volume.
The wires to the different lights are easy to follow and are correctly colour coded. Remember, if you replace the board or rewire to extra function outputs to put a 1k resistor in the white/yellow wire. The blue goes to the common connection on the decoder.
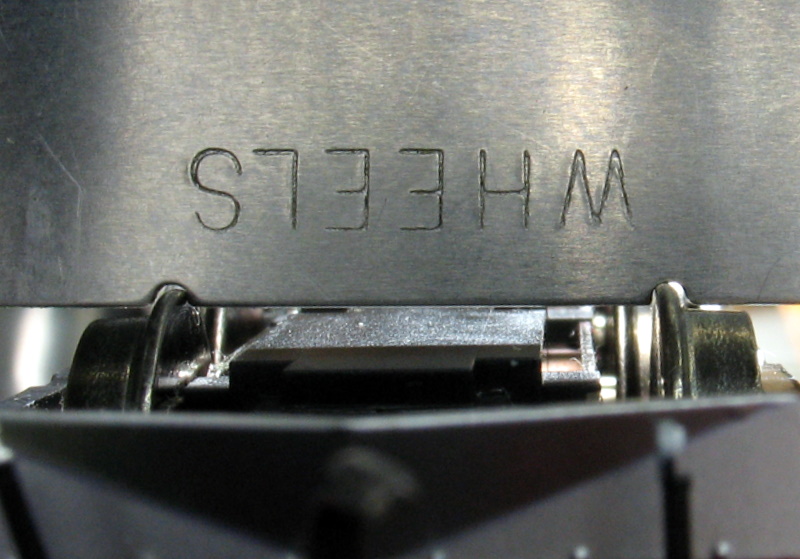
The only partial negative I found was the wheel gauge, as you can see the wheels are on the bare minimum gauge. This is OK for older track and turnouts but you might want to reset the gauge if using fine scale or hand laid turnouts