80 Class – Decoder Installs
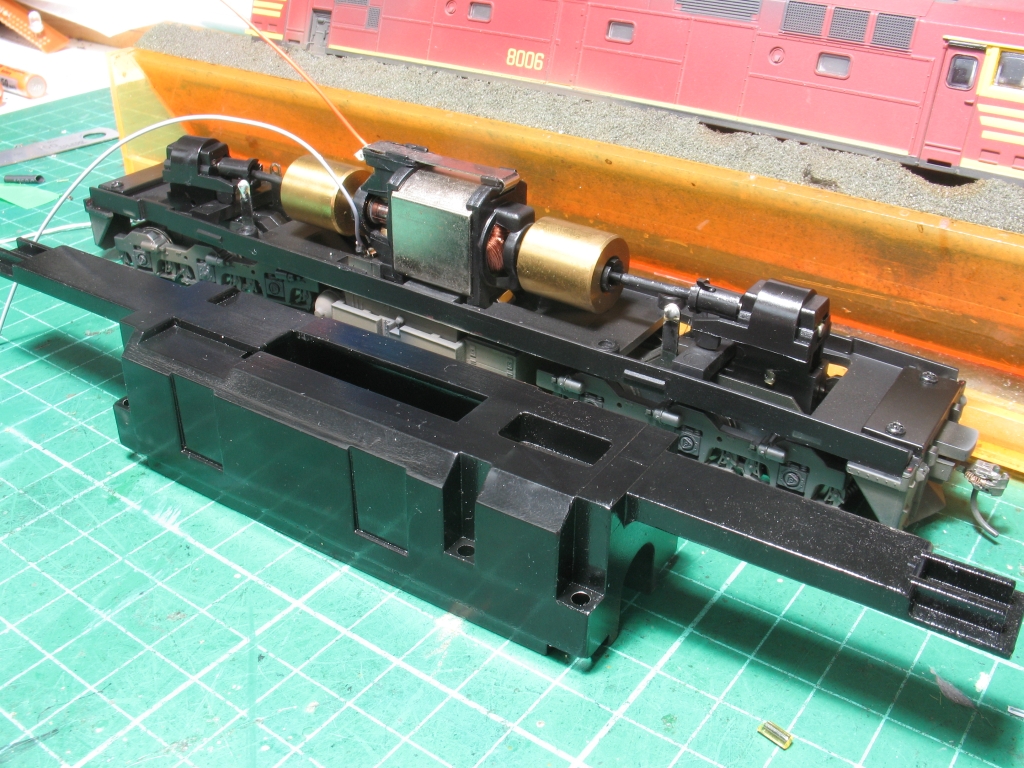
With the body removed, remove all wiring and then remove the weight from the chassis by removing the 4 screws.
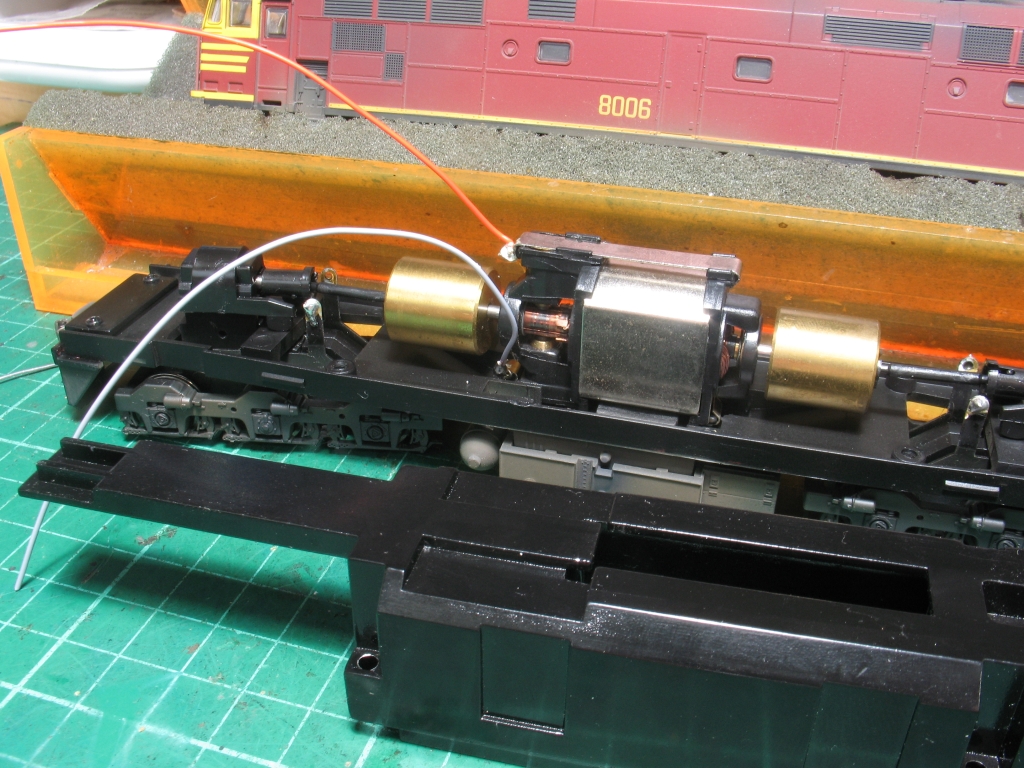
Remove all the garbage pieces attached to the motor. It is only required if you take the loco to Europe on holiday with you. Add the two motor wires as shown (Orange & Grey). They will need to be about 150mm long.

Using a normal hacksaw cut the extensions from the weight as shown. Remove any burrs with a file – just to keep it tidy.
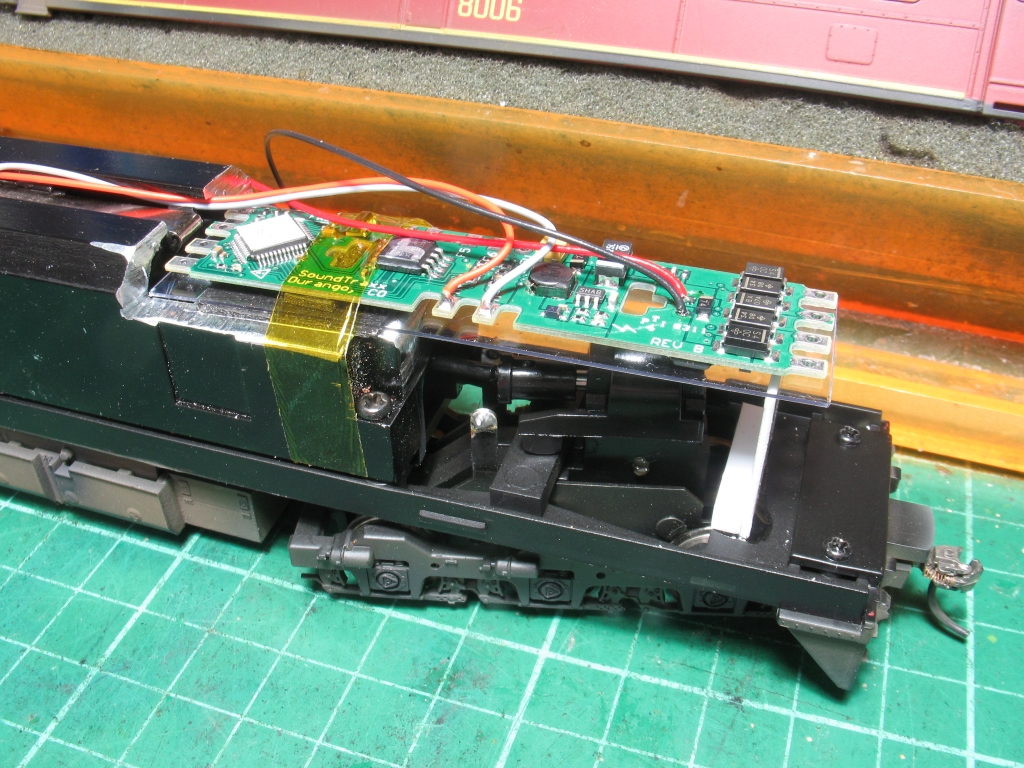
I used a 0.5mm thick piece of styrene as the mount for the decoder. The bit shown is actually 0.5 mm polycarbonate – just because I had some! The white styrene at the front is to prevent any sag that may happen after a few years. A thin piece of double-sided tape holds the polycarbonate in place and another piece of tape holds the board to the polycarbonate. The yellow tape is Kapton tape and holds the wires tidy. Kapton tape is very thin, very strong, and is unaffected by the heat – it will not go sticky.
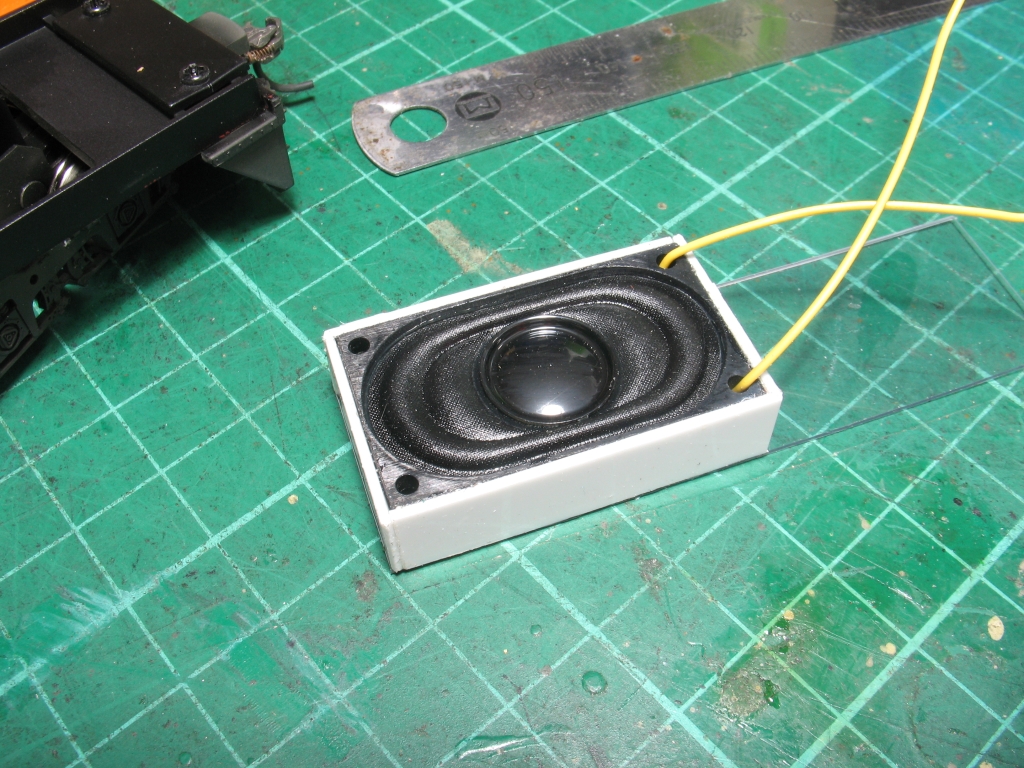
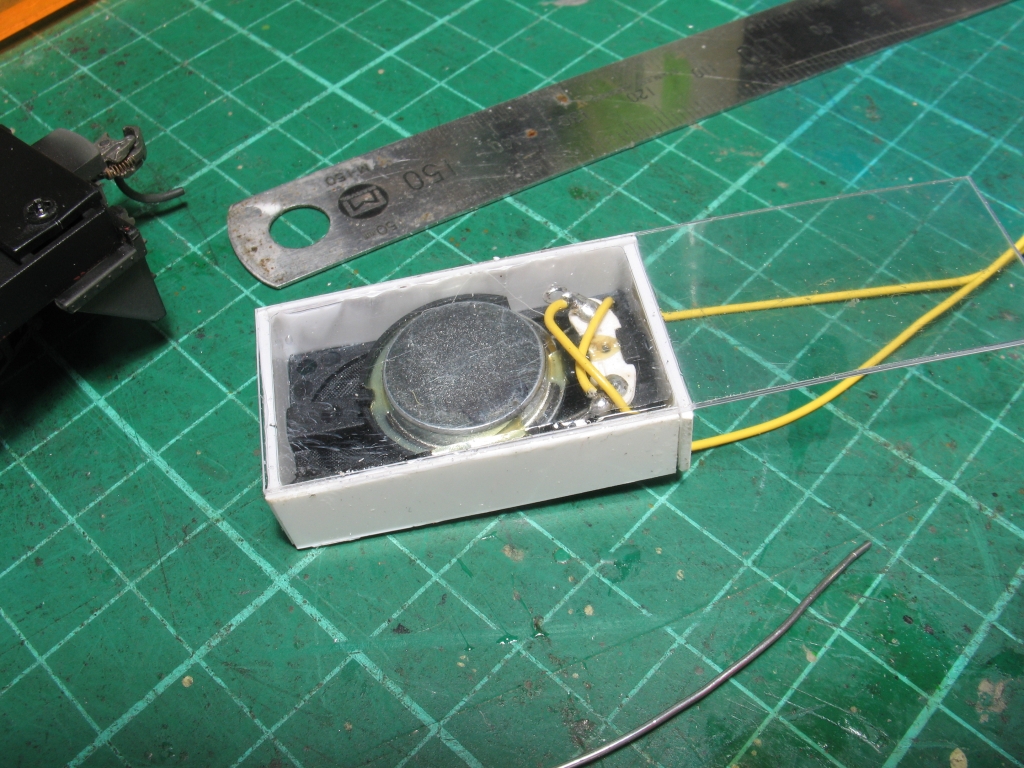
The speaker is a 20 x 35 unit, it has good all round performance. The box is made from 1mm styrene. The box needs to be firm so that the waves from the front of the speaker do not get cancelled by the waves from the back of the speaker.
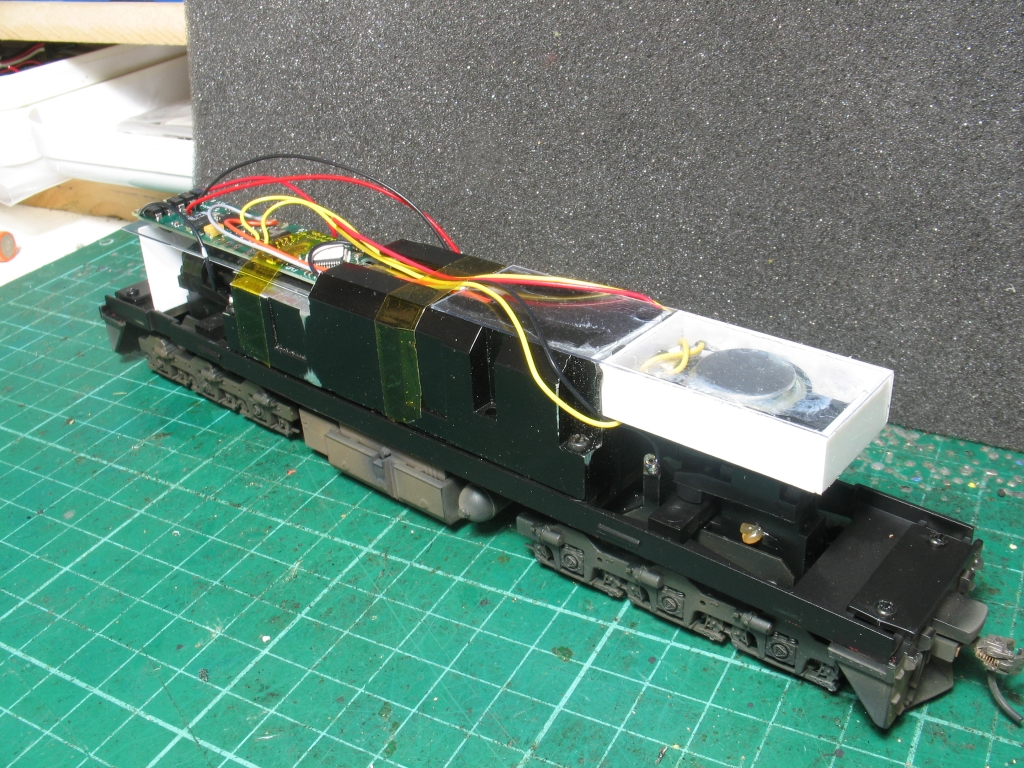
The photo shows the speaker mounted above the gear tower. The extension of the backing styrene is glued to the top of the chassis and holds the speaker firmly.
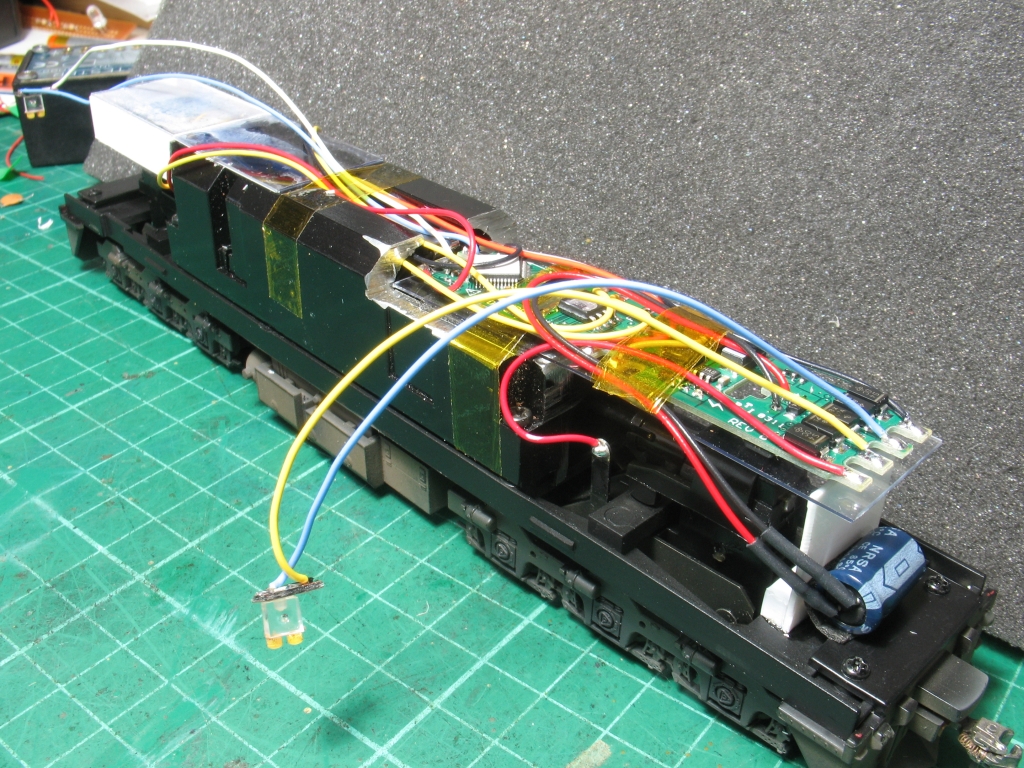
All the wires are held in place with Kapton Tape. The capacitor is mounted down at the front of the loco as shown. The blue and yellow wires go to the headlight. I have mounted an SMD LED (603) to a piece of circuit board along with an SMD resistor (2k7 ohms) and glued the PCB to the back of the lamp lenses. The same method is used for the other end.